Inventory Basics - Order Inventory for a Specific Job Step 2
Learn how to order material for a specific job in ActionFlow by watching the video or following the guide provided below.
Downloadable guide (see bottom of the article).
Step 2- Send Purchase Order and Track Inventory Order
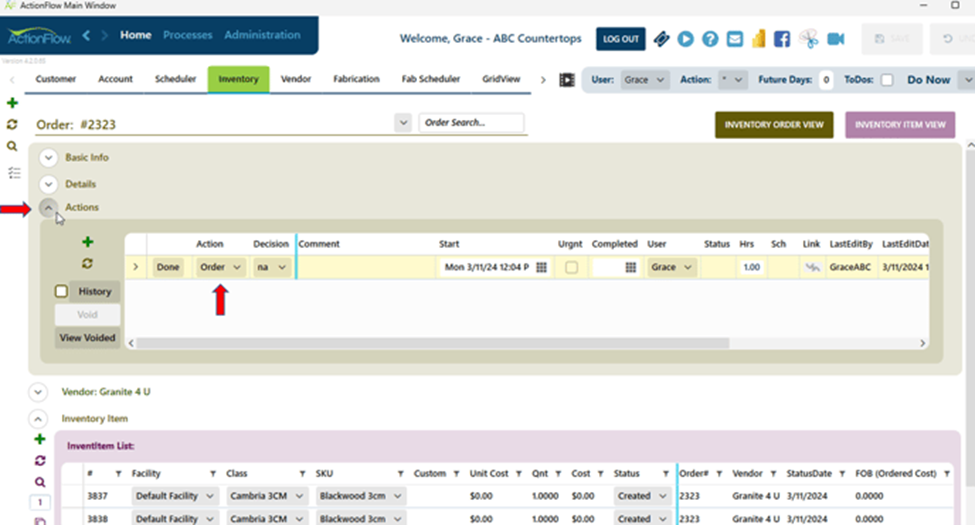
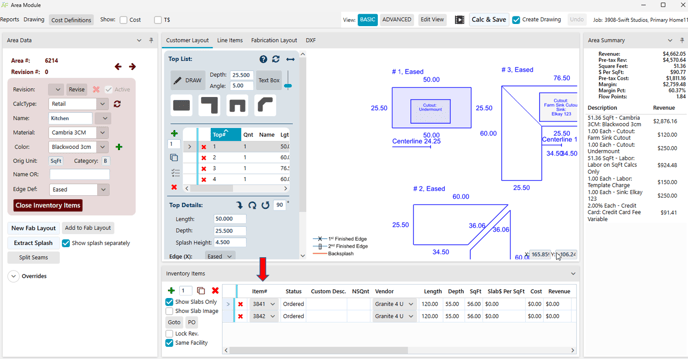
1. Click on the Inventory Tab. Click in the "Inventory Item" dropdown to find the "Inventory Item" search. Search for your Inventory Item number to locate your order. You can also select your order from the drop-down box as well if you know it.
2. Click on the Actions Drop down to start your order
3. Use the scroll bar to scroll over to enter a Delivery Date in the Date column.
- Enter the delivery date
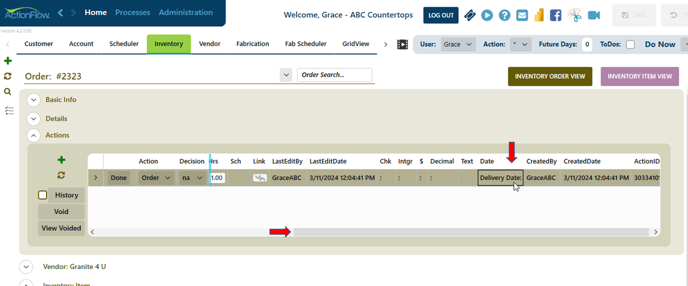
- Click Save
- Click the Done button
- You will see a Pop-Up box indicating that the order has been completed.
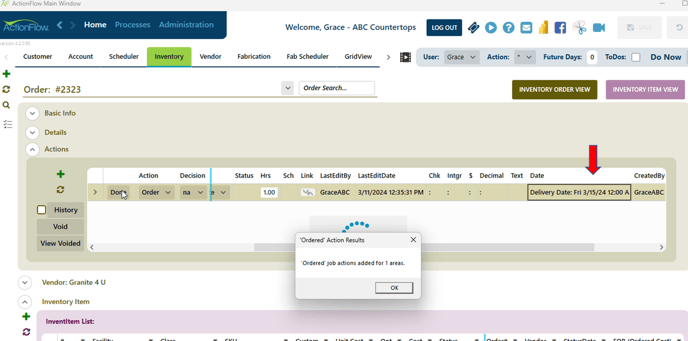
- The status for both the order and the inventory items will change to Ordered.
- The Received Action will be added as the next Action.
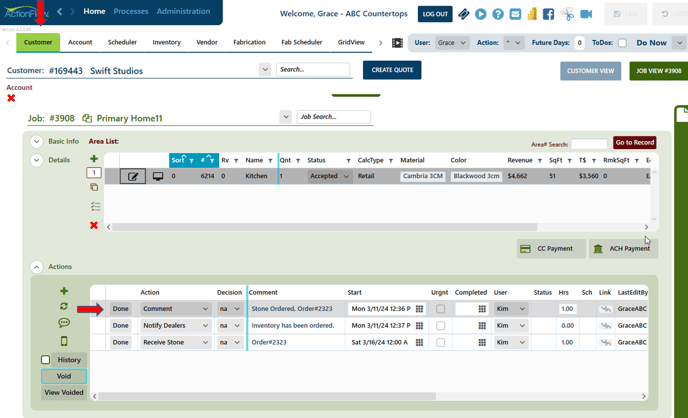
- If you navigate to the Customer tab and then the Job Actions, you may see 3 new actions:
- Comment - this indicates to the project manager that the stone has been ordered with the order #
- Notify Dealers - this action is relevant if there is a dealer who needs to be informed
- Receive Stone - this action is assigned to the project manager on the day after the delivery date set on the "Order" action
- The inventory items are linked between the order and the job.
4. Send PO to the Vendor. (Optional if needed to send PO to Vendor. Sometimes you may order through a vendor portal) - Task Menu >Reports>Purchase Order or Purchase Order with Price
5. Once the Inventory has been received, click on Full or Partial in your drop-down decision. You will need to select a Click Done. - The status for the order will change to Received. The status for the inventory items will change to Available.
- The Invoice Entry will be added as the next Action if you use the QuickBooks integration which will allow you to export the data into QuickBooks.
- Learn how to print barcodes
Related Articles
Inventory Basics - Order Inventory for a Specific Job Step 1
Learn how to order material for a specific job in ActionFlow by watching the video or following the guide provided below. Downloadable guide (see bottom of the article). Table of Contents Intro (0:00) Review and determine what to order using actions ...Inventory Basics - Entering Slabs
Learn how to enter slabs into ActionFlow by watching the video or following the guide provided below. Downloadable guide at the bottom of this article (or view below). Table of Contents Intro (0:00) Create a New Order (0:22) Attach a Vendor (0:40) ...Non-Serialized Inventory
Use ActionFlow to track non-serialized (NS) inventory: inventory items that do not have a unique ID (ie. caulk, brackets, polishing pads, sinks, etc.) The videos below will describe how to track and use NS inventory, use the NS inventory reports, ...Quote Basics
These videos cover the basics of creating a quote in ActionFlow. Creating a Quote - The Basics We will cover the basics of how to create a quote in ActionFlow. Table of Contents Basic Data Structure - Customer, Job, Area (0:00) Finding Customers and ...Basic Quote Training Part 1: Create a Job and Customer
Downloadable version available at the bottom of this article. Step 1- Create a Customer Create a customer using the quote Wizard or by manually entering a customer Option 1: Create Quote- 1. Click on the Create Quote icon to the left side of the Home ...